The professional file recovery software helps you to recover lost data from almost all storage devices with ease, including HDD and SSD data recovery and laptop, desktop data recovery, and more.
Corrupted Videos & Photos Recovery
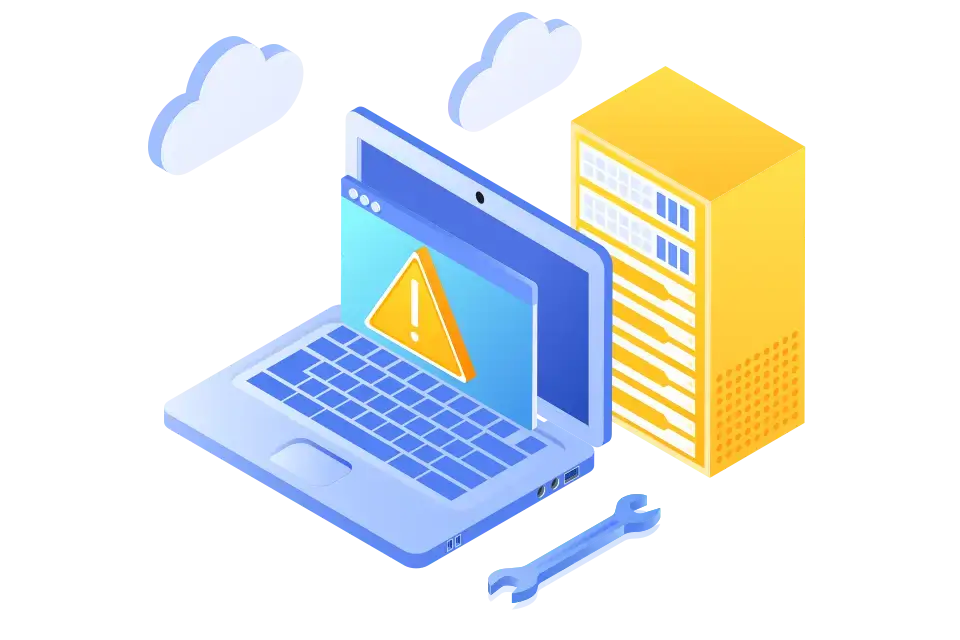
System Crashed Computer Recovery
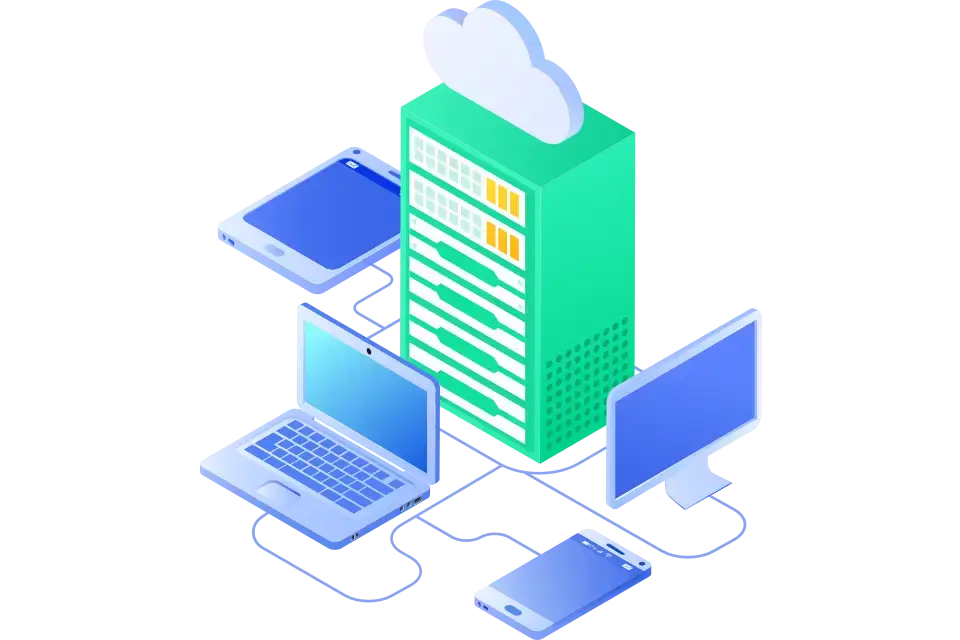
HDD And SSD Data Recovery
Laptop&Desktop Data Recovery
SD Card&USB Data Recovery
Corrupted Videos & Photos Recovery
A double scan mode helps to thoroughly go through your lost video or photo file. Photo recovery software repairs damaged photos/videos of every format stored on various devices such as SD cards, hard drives, memory cards, and more to prevent you from losing them again.
Recover Photos/Videos in High Quality
A Dual-scan Mode
Support All Formats
A State-of-art Photo Recovery Solution
Multiple Devices Supported
Quick, Easy, and Secure Recovery
Retrieve your high-resolution photos/videos like ultra HD, 4K, and 8K videos and photos. Collect video fragments and recover them.
Recover Photos/Videos in High Quality
Retrieve your high-resolution photos/videos like ultra HD, 4K, and 8K videos and photos. Collect video fragments and recover them.
A Dual-scan Mode
A dual-scan mode provided by Soouya can retrieve every detail in your lost images.
Support All Formats
Soouya, the photo recovery tool, supports all main image formats and video formats.

A State-of-art Photo Recovery Solution
An advanced photo recovery technology trusted by many partners in the industry helps to recover photo and video data easily.
Multiple Devices Supported
Restore data from various devices like HDD, SSD, cameras, USB Drives, SD cards, and more devices.

Quick, Easy, and Secure Recovery
Photo recovery in easy 3 steps with fast and reliable photo and video recovery software
System Crashed Computer Recovery
By making a bootable USB stick, Soouya allows you to access and retrieve data from the damaged PC. Save your data and your time.
Safe Recovery
Free Scan & Preview
Restore Data While Scanning
95% Rate of Success Recovery
Support Various Loss Scenarios
Multiple Service Offerings
Retrieve your high-resolution photos/videos like ultra HD, 4K, and 8K videos and photos. Collect video fragments and recover them.
Safe Recovery
Restore data from a computer that has crashed by generating a bootable USB drive.
Free Scan & Preview
Soouya provides a complimentary scan of any hard drive. Additionally, you can preview all file types for free prior to data recovery.

Restore Data While Scanning
You don't have to wait for the entire too much time waiting for the scan to be completed.
95% Rate of Success Recovery
With years dedicated to data recovery, Soouya offers you a higher recovery file quality and success rate.

Support Various Loss Scenarios
Rescue your data from cases of any operating system crash or starting problems

Multiple Service Offerings
Hard drive recovery, photo&video recovery, and more. The professional data recovery expert address all your needs.
HDD And SSD Data Recovery
Quickly and easily restore any sort of lost Windows file. You can easily recover deleted files from HDD, SSD, and other storage media with the help of Soouya.
Data Security&Confidentiality
Success Rate of 95%
Fast and Easy Recovery
Simple 3-Step to Recover HDD Data
Reliable Data Recovery Solution For Everyone
Support Common Drive Brands
Retrieve your high-resolution photos/videos like ultra HD, 4K, and 8K videos and photos. Collect video fragments and recover them.
Data Security&Confidentiality
Your hard drive is in safe hands at Soouya. We will not disclose or sell your data.

Success Rate of 95%
With a thorough recovery engine frame and algorithm, a high success rate is achieved.

Fast and Easy Recovery
Recover Hard Drive Data in 2 mins with ease.
Simple 3-Step to Recover HDD Data
No learning cost, just 3 simple steps to recover your hard drive data.

Reliable Data Recovery Solution For Everyone
Professional hard drive recovery software is suitable for people of all kinds of professions to help you recover lost data from a hard drive.

Support Common Drive Brands
We support many common drive brands, such as Intel, Microsoft, Lenovo, Dell, HP, Samsung, Fujitsu, Seagate, Western Digital, and more.
Laptop&Desktop Data Recovery
There are several potential causes for desktop file loss. With the help of this desktop data recovery tool, retrieving lost files won't be a problem.
Recovery on All Types of Laptops
Support Hardware And Software Failures
Various Brands and Types
Quick File Locating
Expert In Desktop Data Recovery
7-day Money-back Guarantee
Retrieve your high-resolution photos/videos like ultra HD, 4K, and 8K videos and photos. Collect video fragments and recover them.
Recovery on All Types of Laptops
Recover data on all types of laptops from a physical hardware failure.
Support Hardware And Software Failures
Data loss caused by failures like disk failures or software crashes can be easy recover with Soouya.

Various Brands and Types
Soouya recovers data from hard drives of any make, model, or brand and has experience with every type of data loss scenario.
Quick File Locating
With the data recovery software's filtering choices, you can quickly find the files you want by filtering by file type, file status, file size, etc.
Expert In Desktop Data Recovery
Support 1000+ file formats, years of data-recovery experience, easy 3 steps to recover, perfectly recover your lost desktop file.

7-day Money-back Guarantee
You can request a refund within the first seven days of purchase if it does't meet your needs.
SD Card&USB Data Recovery
Use your Windows computer to recover deleted files from a memory card. Soouya is a professional SD card recovery expert that can bring back photos, videos, and other media that have been accidentally destroyed.
3 Steps To Retrieve Data
100% Secure Virus-Free Guarantee
Unlimited File Formats
Recover Deleted Files with Safety
Supported 1000+ File Types
Support Various Memory Card
Retrieve your high-resolution photos/videos like ultra HD, 4K, and 8K videos and photos. Collect video fragments and recover them.
3 Steps To Retrieve Data
Just three simple steps, select a location, scan your device and recover your data, to retrieve SD card/USB data.

100% Secure Virus-Free Guarantee
The best data recovery tool guarantees a 100% virus-free process of recovering lost data.
Unlimited File Formats
Recover unlimited file formats on different storage devices.
Recover Deleted Files with Safety
During the data recovery process, all your data will not be lost or leaked.

Supported 1000+ File Types
Soouya supports data recovery on all types of memory cards in a wide range of data loss situations.

Support Various Memory Card
Recover pictures, videos, and files from an SD/SDHC/SDXC card or a device with an SD card slot.

 My Account
 Sign Out